The weather's fine and you want to discover the region without spending hours creating a route? Go to the [Create] menu to organize a walk around your location in just a few minutes. It's the ideal solution for last-minute decisions, or for exploring the region while you're on vacation!
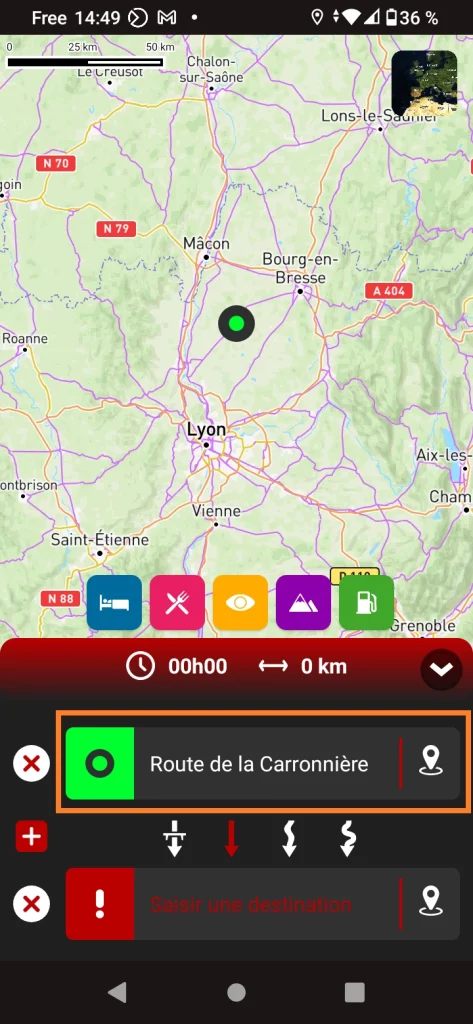
1) Start by defining your starting point by clicking in the orange zone. You can search for an address, choose your position or click on a point on the map.
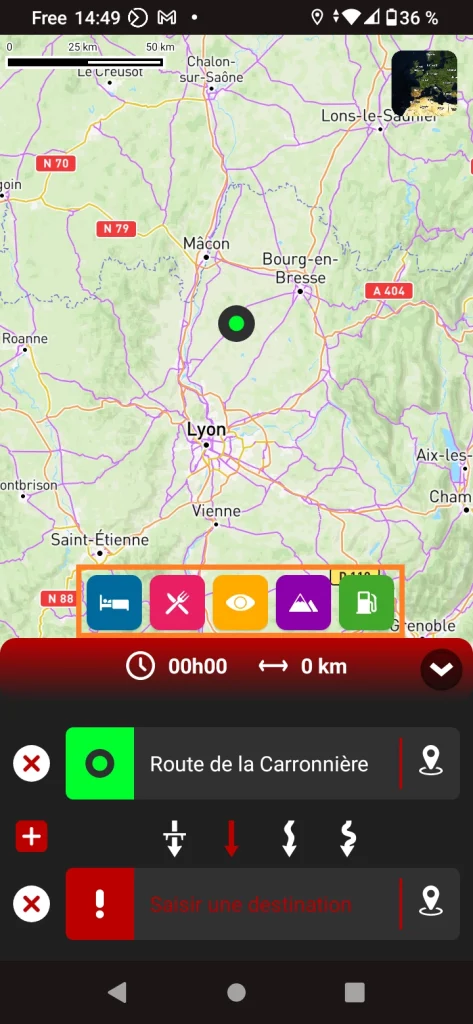
2) Then select a Point of Interest category of your choice. In general, you'll start with a pass or a place to see.
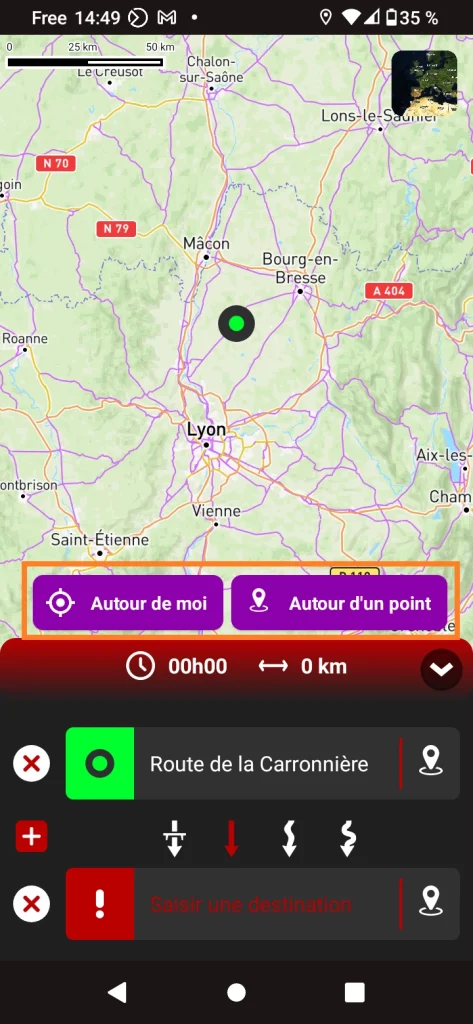
3) Choose the [Around me] option to find Points of Interest within a 50 km radius of your position, or [Around a point] to go further.
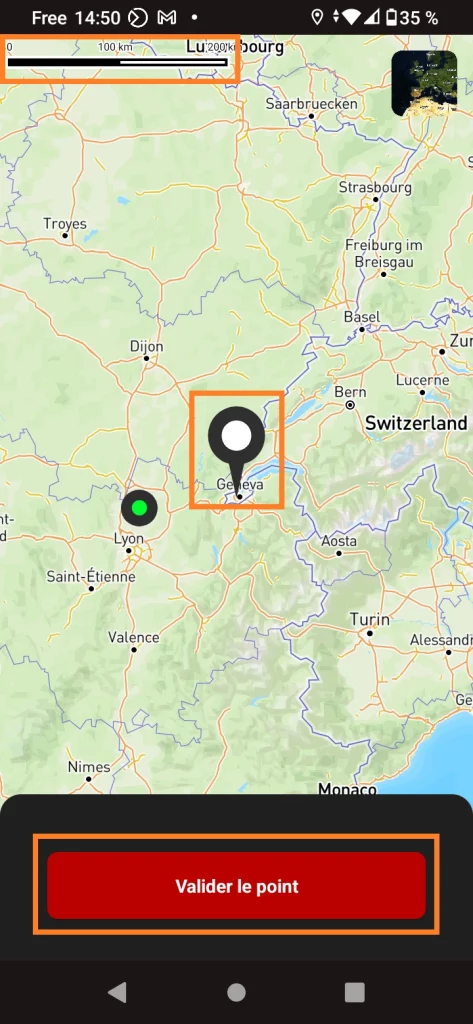
4) If you choose the Around a point option, click a point on the map in the area where you wish to go (you can use the scale at top left to get an idea of the distance). Once the point has been positioned, click on [Validate point].
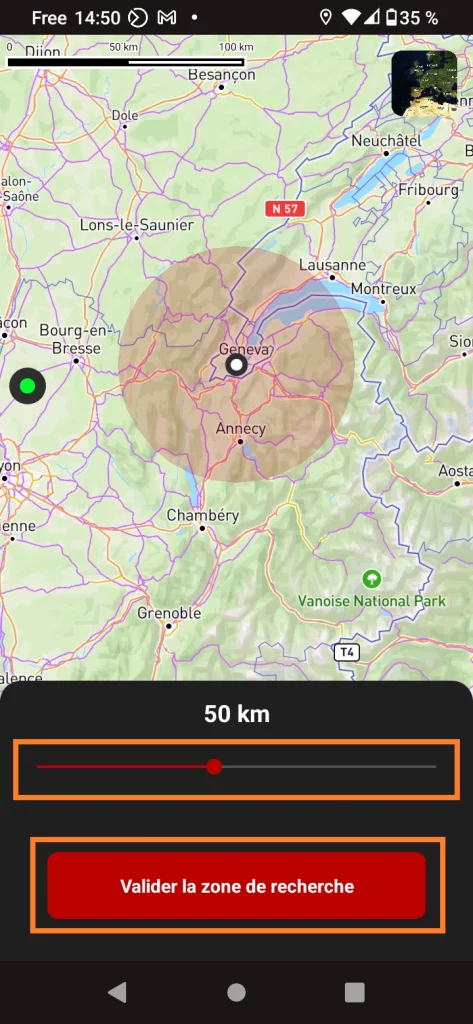
5) Define your search radius, then click on [Validate search zone].
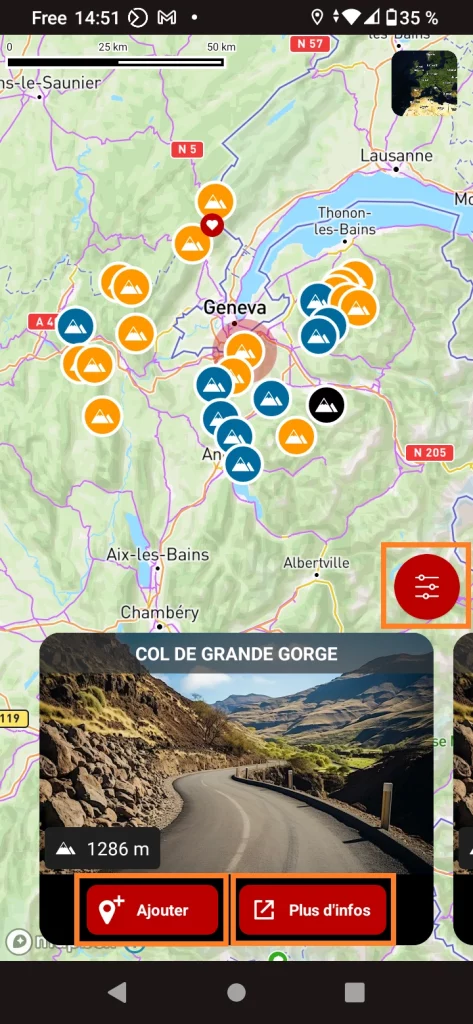
6) The application displays all the places in the chosen category (in this case, the passes) around the point. You can view the different locations by clicking on the icons or dragging the thumbnails, and see the detailed information sheet by clicking on the [More info] button. If required, you can filter the locations by clicking on the round button. Once you've chosen a location, click on [Add] to add it to your itinerary.
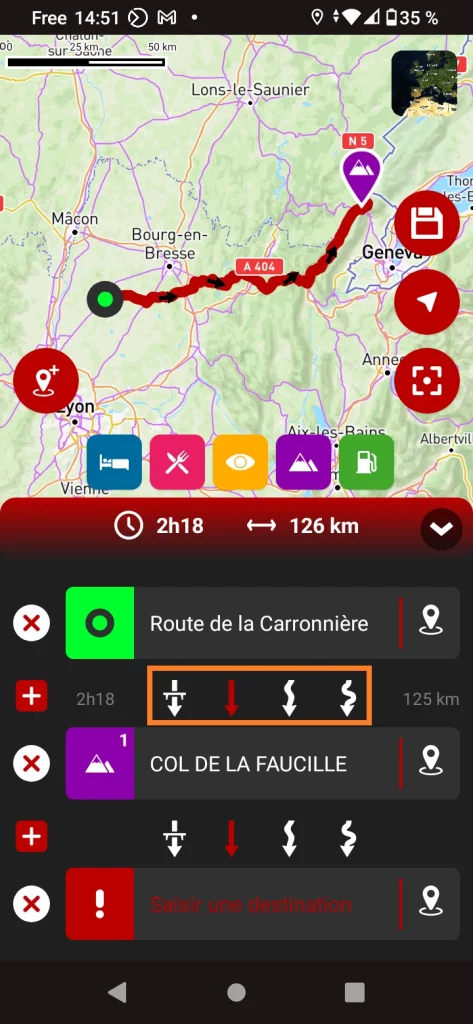
7) The application calculates and displays the route to the chosen location. You can easily change the type of route by clicking on one of the 4 options circled in Orange. The 1st calculates a route with freeways, the 2nd without freeways, the 3rd with winding roads and the 4th includes small wheels and carriageways.
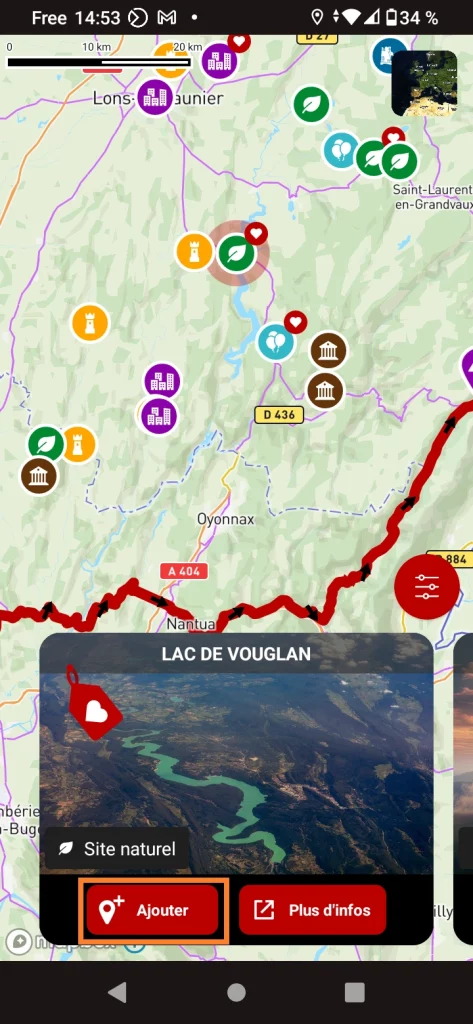
8) Repeat steps 2) to 7) to choose a second stopover, for example a place to see, then click on [Add] to add the stopover to your itinerary.
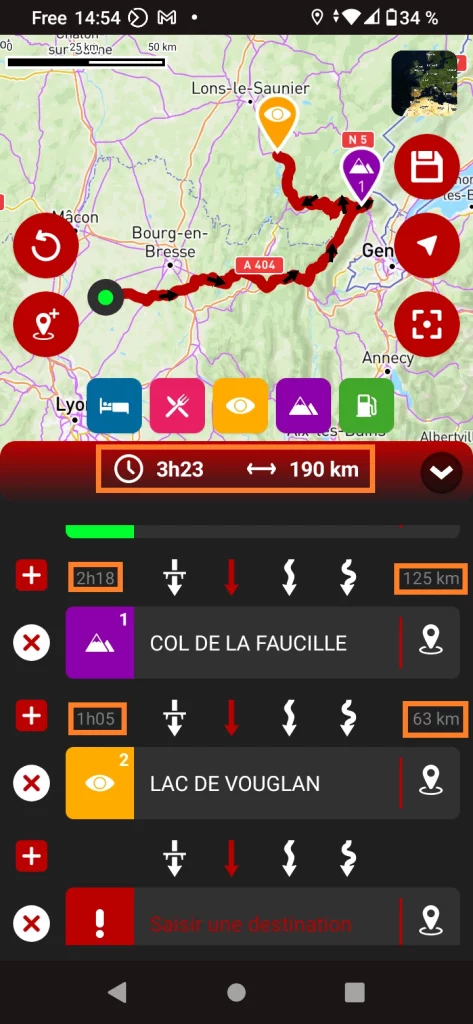
9) The 2nd stage is added. You'll notice that the app gives you the total time and distance, as well as the time and distance between each stage.
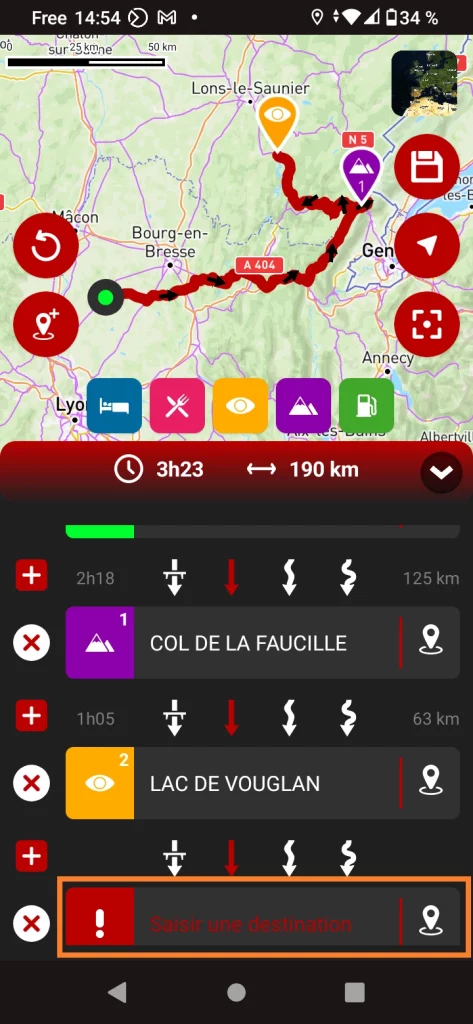
10) All that's left to do is to enter the arrival point, choosing between your position, a specific address or a point on the map.
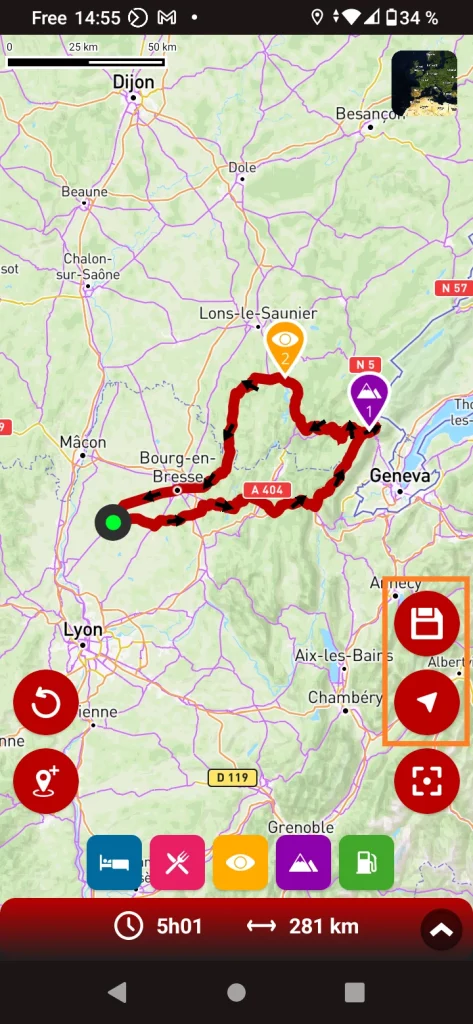
11) Remember to save your route by clicking on the diskette! Then click on the arrow to start guiding.

12) Finally, a few useful functions: the Back icon (orange area on the left) cancels the last action, the icon with a small + lets you add a waypoint directly on the map without going through the stage list (very practical), and the icon on the right displays the complete route.